
Which wrap is right for you?
Two quick questions - we'll do the matching.
Do you want to use a UV lamp?
Bundle Builder
Pick your wrap type and build your set
↑ Pick a type above to unlock your builder
Your bundle
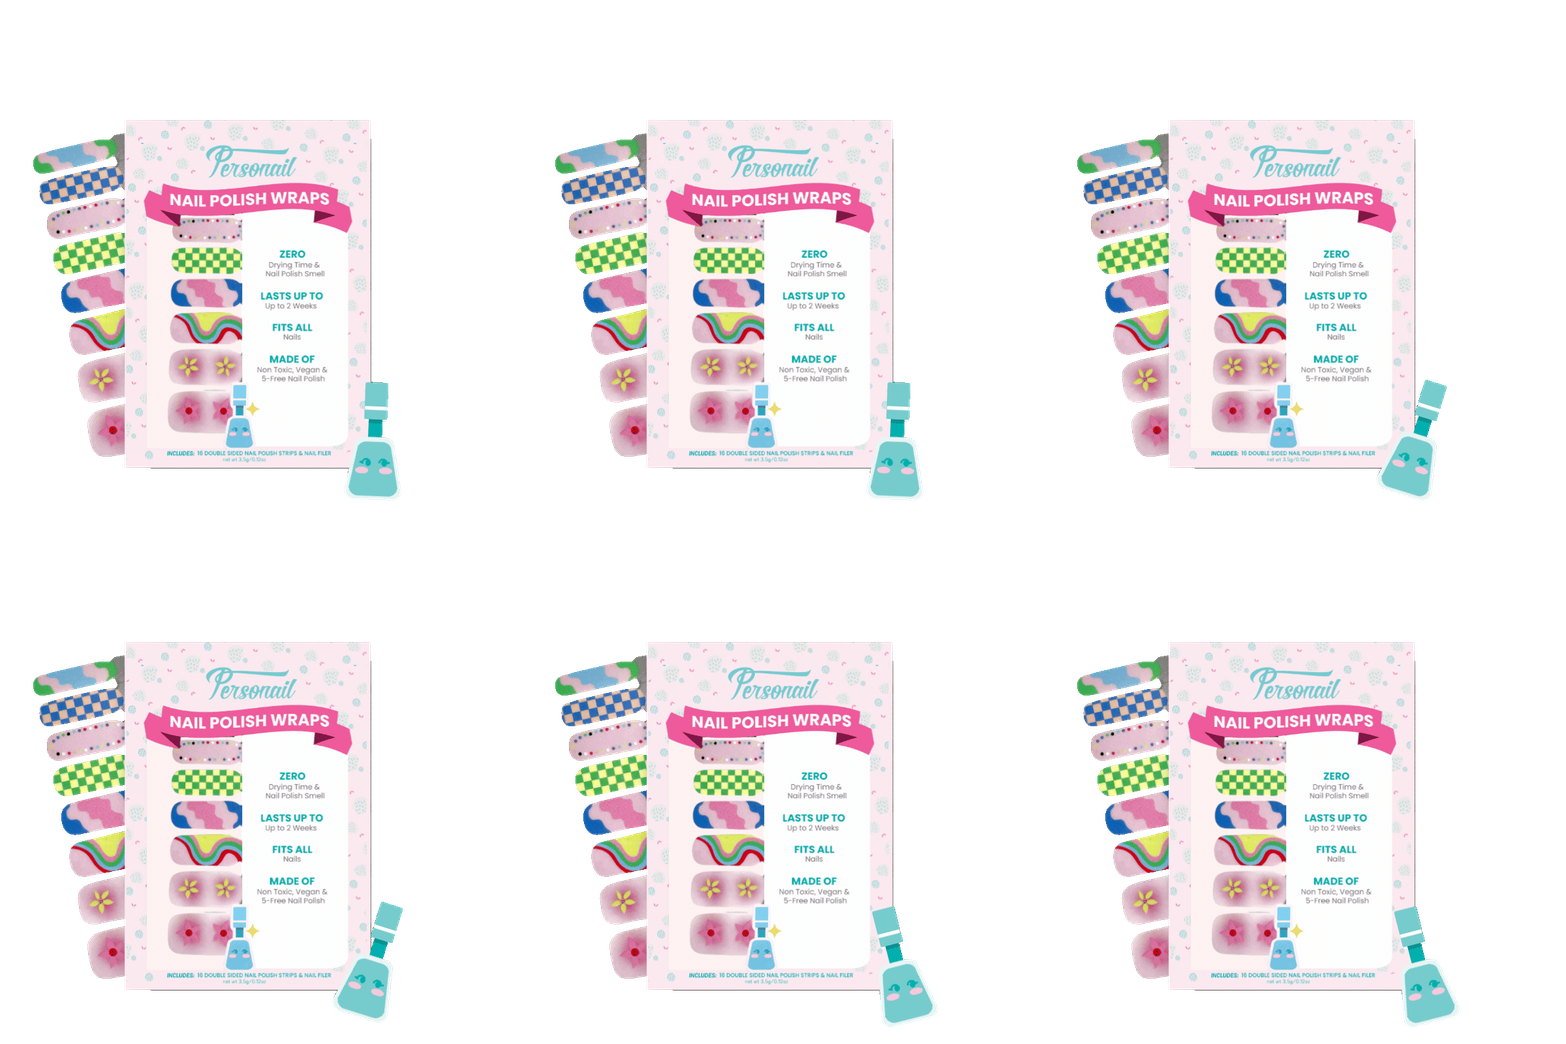
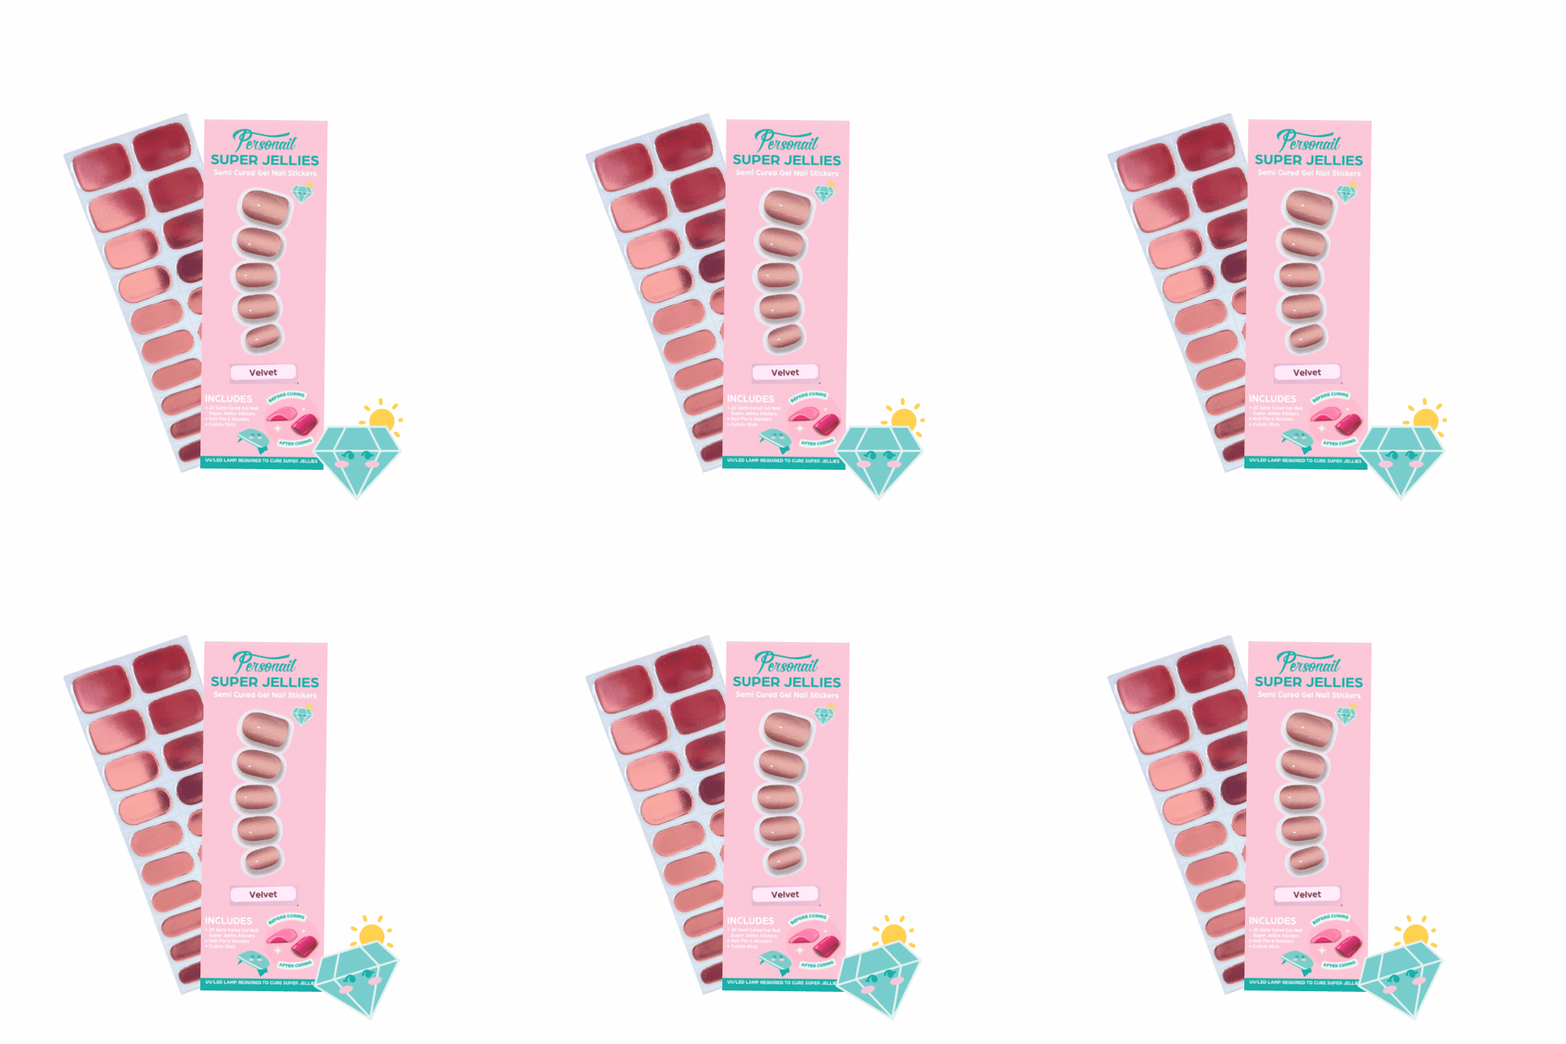
Choose the set that suits you:
Pick the designs you love:
Included with every bundle
Which one is for you?
 |
 |
|
| Nail Wraps | Super Jellies | |
| Made of | Nail Polish | Gel Polish |
| Needs a lamp | ✕ | ✓ |
| Safe for | All Ages | Age 16+ |
| Wear time | 2 weeks with Top Coat | 3-4 weeks |
| Removal | Same easy removal for both | |
Question 1 of 3
What's your nail vibe?
Question 2 of 3
Do you own a UV nail lamp?
Question 3 of 3
Who's wearing the nails?
Nail Wraps
Based on your answers, Nail Wraps are made for you.
Get personalised tips + first dibs on new designs
You're all set!
We've sent your nail match to your inbox. Now let's build your bundle.
Pick your designs
How To Apply Super Jellies
A perfect manicure only works with a perfect base! Push back your cuticles with a cuticle stick, then wipe the nail with an alcohol wipe or nail polish remover. By following these steps, you can enjoy a professional-looking manicure from the comfort of your home.

Remove the clear film from the Nail Wrap.

Select the Nail Wrap size that best fits your nail. If unsure, always opt for the smaller size.

Centre the nail wrap at the base of your nail and press down firmly to smooth it over the nail surface. Use applicator to help press down edges

File the Nail Wrap at a 90 degree angle with a Glass Nail File for a smooth edge

Finish off by curing under UV lamp
How To Apply Nail Polish Wraps
A perfect manicure only works with a perfect base! Push back your cuticles with a cuticle stick, then wipe the nail with an alcohol wipe or nail polish remover. By following these steps, you can enjoy a professional-looking manicure from the comfort of your home.

Remove the clear film from the Nail Wrap.
Select the Nail Wrap size that best fits your nail. If unsure, always opt for the smaller size.
Centre the nail wrap at the base of your nail and press down firmly to smooth it over the nail surface. Use applicator to help press down edges
File the Nail Wrap at a 90 degree angle with a Glass Nail File.

Finish by applying our Fast Glass Top Coat or Gel Top Coat.
No results found.
- Getting Started
-
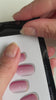
Measure — find the right size and peel off the clear protective film.
Stick — use the wooden cuticle stick provided in the kit to seal the edges well.
File — remove excess nail wrap by filing in a downwards motion, 90 degrees to the nail.
Cure — under a UV/LED lamp, cure for up to 2 minutes for a long lasting finish.
jellies -
Yes - semi cured wraps are made of real gel polish that's only partially cured, so they need 1–2 minutes under a UV/LED lamp to fully set. Without curing, they won't achieve their full durability or shine.
Care & Removal -
Removing your semi cured wraps is super easy! All you need is some cuticle oil and the orange stick included in every nail wrap kit. Gently slide the stick under the edge of the wrap and drip a bit of oil underneath. Slowly wiggle the stick from side to side to help lift the wrap off in one piece. Prefer using your own oils? Coconut or olive oil work just as well!
Click here to watch a video tutorial on how to remove our semi cured wraps
-
No, our nail wraps are completely safe, non-toxic, and formulated without HEMA, making them a great choice for your nails.
Crafted with high-quality materials, they provide a durable layer of protection that helps prevent breakage and peeling, allowing your natural nails to stay healthy and strong.
Our innovative application process ensures a smooth fit that molds to your nails, while the removal is just as easy and damage-free.
Simply loosen the adhesive using our cuticle oil remover, and gently lift the wrap off your nail without causing any harm. Enjoy beautiful, protected nails with our wraps!
Wear Time -
Our Semi Cured Wraps should last 2 weeks or more, even up to a month depending on how much you use your hands. If you want a longer lasting finish, we recommend sealing with our Gel Top Coat.
To prevent it coming off, make sure not to stick too close to the cuticle or select a size too big.
Compatibility -
Yes! Our wraps are designed to work on any nail surface. In fact, they tend to last even longer on acrylics and press-ons since the smoother base helps them adhere better.
-
Yes! Personail Semi Cured wraps are made of real gel polish that has been semi cured — that means you'll need to finish curing under a UV/LED lamp for it to fully set onto the shape of your nails. Don't have a lamp? No problem — our portable UV/LED lamp is FREE in our Starter Kit!
-
While we don’t recommend using Super Jellies for extensions, some people with shorter nails have done it successfully. If you try it, be sure to seal both the top and bottom with a Gel Top Coat and cure for at least 2 minutes.
No more than 1mm beyond the natural nail. Keep in mind this method may shorten wear time, and we are not liable if they come off earlier than expected.
Tips & Troubleshooting -
A pack of Super Jellies includes 20 Hard Gel Wraps, which can do at least 2 sets if you adjust size accordingly to your nails.
Bonus: all our wraps are double-sided! If you have shorter nails, simply cut them in half to get multiple sets from one kit.
-
Seal with a Top Coat — while not always necessary, applying a Gel Top Coat can add extra durability, particularly if your hands are frequently in use.
Press & Roll Technique — use the wooden stick in a rolling motion over the wrap to fully seal it, especially around the edges.
Avoid Direct Sunlight During Application — warm temperatures can cause the wraps to start curing too soon, making them harder to apply.
Extra Attention For Glitter Wraps — these are slightly thicker, so pressing down the edges well and sealing them is especially important.
-
Nail wraps may come off for a few reasons:
✨ Buff If Necessary — if your nails are naturally smooth, gently buffing them can help create a slightly rougher surface for better adhesion.
✨ Start With Clean, Dry Hands — any oils, creams, or residue can prevent the wraps from sticking properly. Wash hands thoroughly and dry completely before starting.
✨ Push Back Cuticles — ensuring your cuticles are pushed back will help the wraps adhere to the nail surface rather than skin.
✨ Choose The Right Wrap Size — if in doubt, opt for a slightly smaller wrap rather than one that touches the cuticle or skin, as this can cause lifting.
✨ Forgetting to peel off the clear plastic protective layer is a main culprit. Make sure to peel the clear layer off with a Personail Pen for easy application and filing. Find more information here.
No results found.
- The Basics
-
Everything you need for a perfect manicure!
Adult sizes: 16 double-ended nail polish wraps in a range of sizes, a nail file, a cuticle pusher and step-by-step instructions.
Kids sizes: 18 double-ended nail polish wraps in a range of sizes, a nail file, a cuticle pusher and step-by-step instructions.
-
Yes! Each pack comes with two sets of 8 standard sizes, guaranteed to fit your nails.
Our nail wraps are also long enough to cut in half, so you can get up to 32 nail wraps from every pack.
For our Kids range, we find it most suitable for ages 2–7 years old.
Application & Removal -
Push back your cuticles and wipe each nail with an alcohol wipe or nail polish remover for a clean base.
Choose the wrap size closest to your nail (size down if in between), press and smooth it from the base to the tip, then file away any excess at a 90 degree angle for a seamless finish.
-
✅ Do: Soak your fingers in warm water for 5–10 minutes and add a few drops of oil (coconut, olive or cuticle) under the wraps. Gently massage and slowly peel the nail wraps away from the cuticle. Once removed, wash your hands with soap to clear any sticky residue.
Alternatively, you can use nail polish remover to take them off.
❌ Don't: Peel off a nail wrap without soaking it in warm water and oil first, or peel it off roughly or quickly — the adhesive needs time to soften, otherwise you risk damaging your natural nail.
Wear Time & Care -
With proper application, our Fast Glass Top Coat lasts up to 14 days on top of our nail wraps, and up to 3 weeks with our Gel Top Coat (requires a UV Lamp to cure).
-
We recommend applying our Fast Glass Top Coat for the best results.
Other brands can have adverse effects on our nail wraps, especially any fast-drying formulas, which can cause the wraps to crack or shrink.
-
A few things to keep in mind before applying your nail wraps:
1. Start with clean, dry hands — any oil or cream applied prior to application can affect how well they last.
2. Buff smooth, natural nails — a naturally smooth nail surface needs light buffing for the wrap to adhere properly.
3. Select a smaller size if in between — when a wrap touches your skin, the natural oils there will start lifting it off.
4. Don't apply too close to the cuticle — it'll catch on things and eventually come off.
-
If you keep our wraps sealed in the foil bag, they will not expire.
If you've already opened a wrap and want to store it more effectively, put it back in the foil bag and keep it in a drawer.
If any opened nail wraps become hard and stiff, you can revive them using a hair dryer on a low, warm setting to gently heat the wrap for easy application. See how this method works →